Monday, October 10, 2011

1 year ago….

 
I don’t like to blog on the weekends, as I feel that’s “family time” but yesterday L and I celebrated our 1st wedding anniversary.
I can’t believe it’s already been 365 days. It felt like a lifetime when we were engaged waiting for our wedding day to arrive and now it seems like it was so long ago! It makes me sad. I want to relive that day, because it went by so FAST!!!
I remember walking down the aisle with my Dad, so calm and collected; I remember saying our vows to each other, and high-fiving after we kissed! It was one great day!
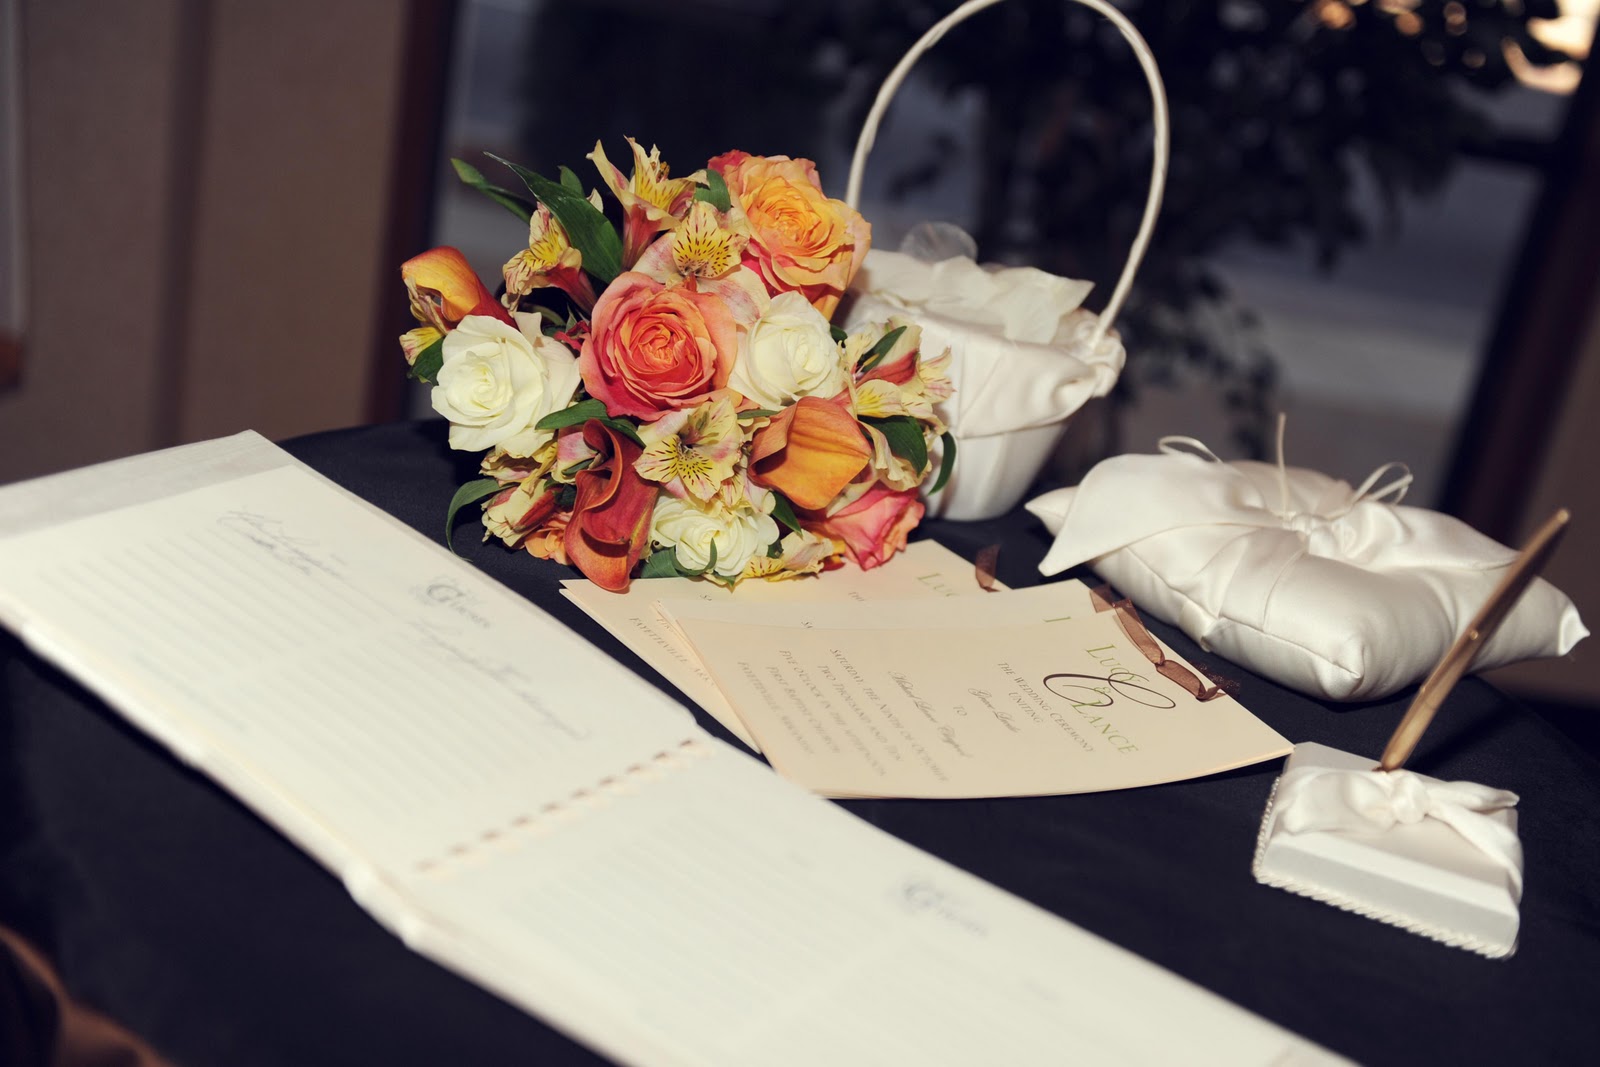
So today I thought I would share some amazing pictures that our GREAT photographer {Rachel Blackwell Here} took to share that special day!
I am so blessed! J
lucy


The End!


Wednesday, October 5, 2011

Halloween Décor

So I’ve always been known as a bit “crafty”, though now that I have a “big kid” job, unfortunately I don’t have as much time as I used too. But a couple of weeks ago, I decided I’d make a Halloween Wreath. I got on Etsy for some ideas. I found one I sort of liked, but I wanted something I’d LOVE. So I decided to make my own with the help of Hobby Lobby, Etsy, and Joanne’s for a much lower cost than on Etsy. Let’s begin!

 
What you’ll need:

1.    A {fun} wreath
2.    Ribbon (Halloween)
3.    Tulle
4.    Floral Wire
5.    Wire Cutters
6.    Hot Glue Gun
7.    Paint
8.    and whatever you want to add to the wreath.


Supplies

Step #1
Find a cute feather wreath (I found mine at Joanne's) and paint your wooden decor, then set aside.

Step #2
Start assembling your bow. Tie and set aside.

Step #3
Make sure the paint has dried, then strategically place your wooden decor (or whatever Halloween
item you choose) on your wreath and Hot clue down.

I bought these and used black paint for their faces and outline.


Step #4
Tie the bow on with floral wire and tape down the wire to the back of the wreath.

Step #5
Say BEAUTIFUL! You're finished! Hang on your door for a spooky good time!


lucy